The Top Mitsubishi Galant VR-4 Resource

Join the best E39A 1991-1992 Mitsubishi Galant VR-4 community and document your GVR4 journey.

  • Software Upgraded - Reset Your Password to Login
    In order to log in after the forum software change, you need to reset your password. If you don't have access to the email address you used to register your GVR4.org account, you won't be able to reset your password. In that case, follow the instructions here to regain access to the forum.

New Owner of 1837/2000

Brett Adams' Galant VR-4

GSTwithPSI

Well-known member
Joined
Jan 1, 2012
Messages
3,461
Location
SoCal
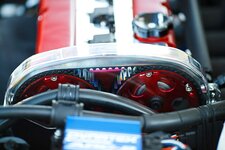
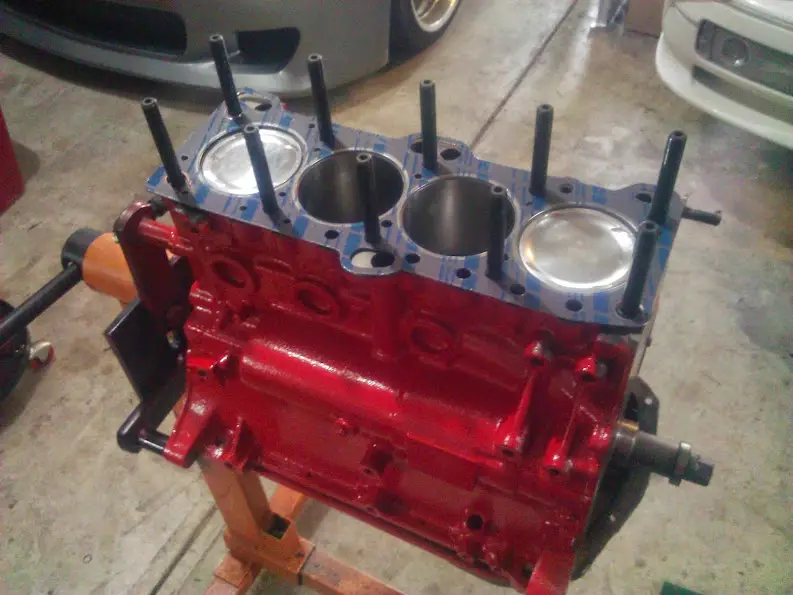
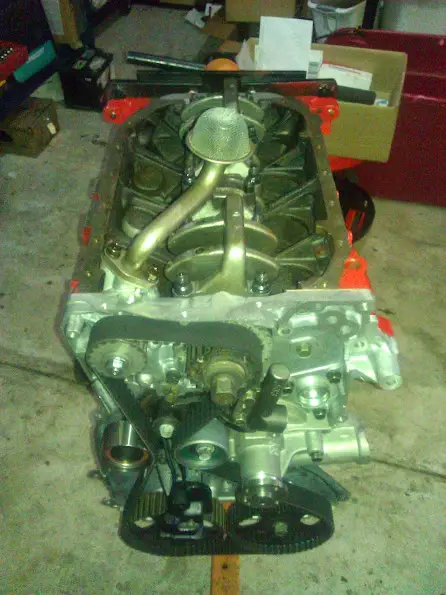
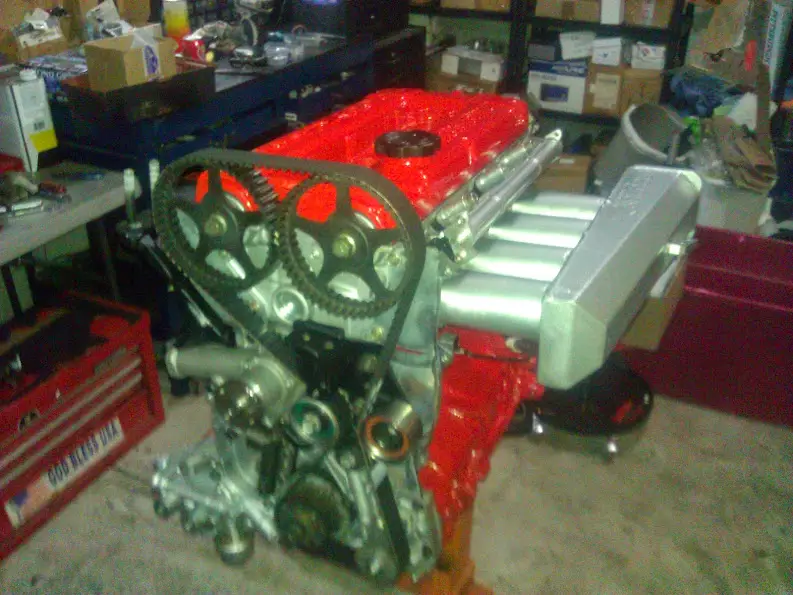
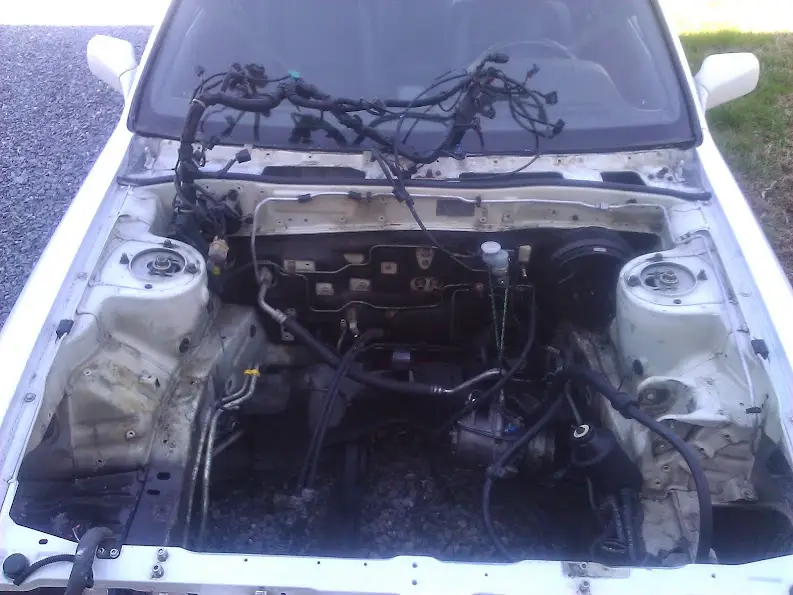
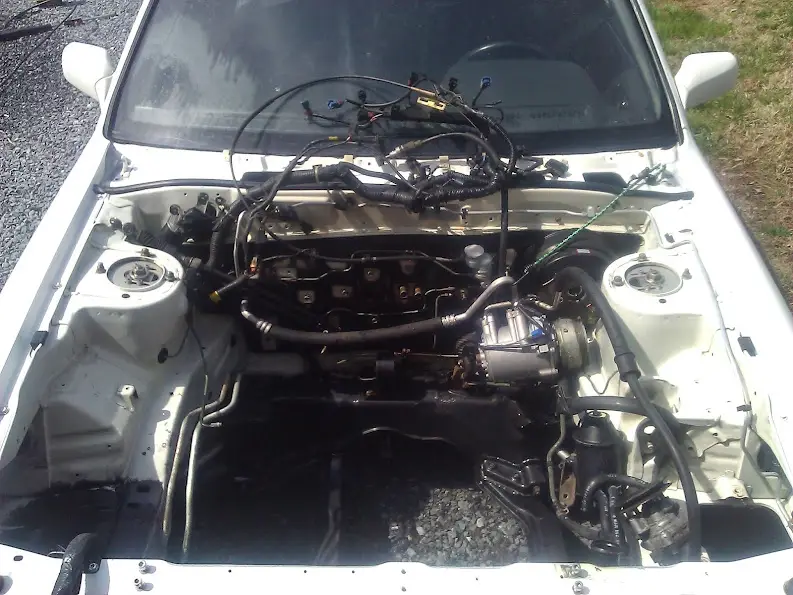
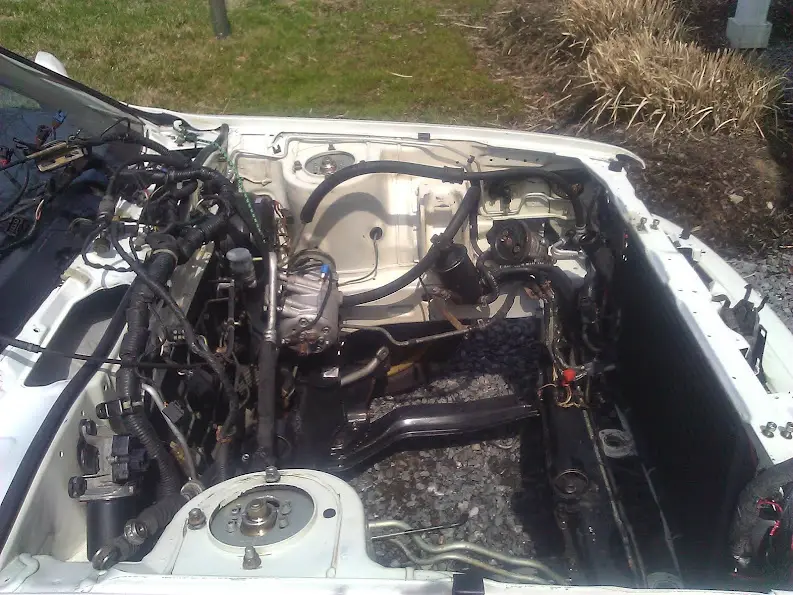
My parts from Rockauto got here today, so I started throwing the car back together. As I was installing the front balance shaft belt, something just didn't feel right. I grabbed the gear, and the whole shaft just felt loose. I decided to pull the pan, and see what was going on.

And the hits just keep on coming...
w0ZjIhjDdEXA5UOBuYXRUxGSZWrq_L8UaRk5MoU4vr0=w736-h552-no

WP_000671.jpg

WP_000672.jpg


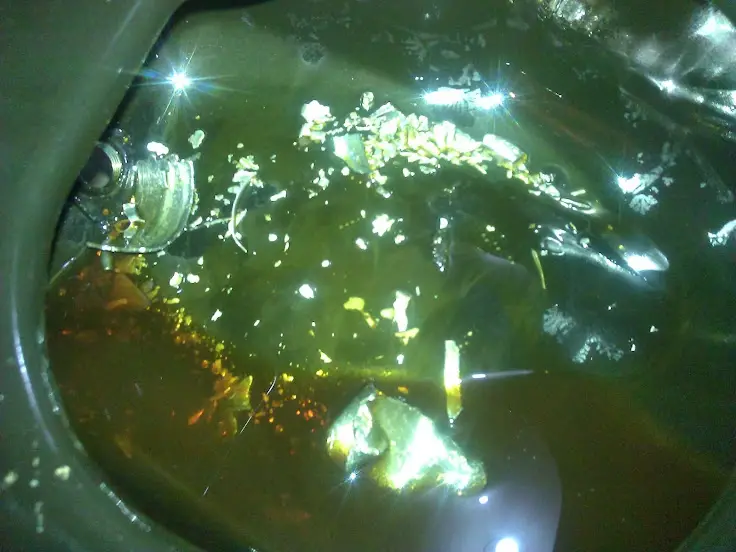
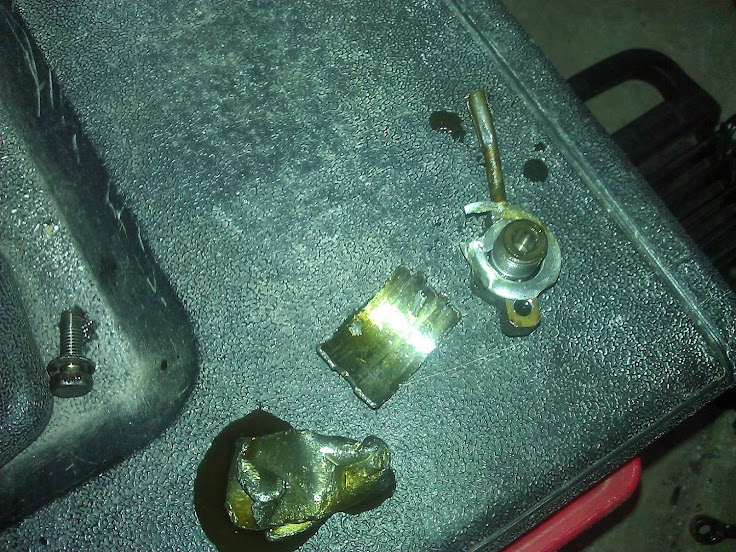
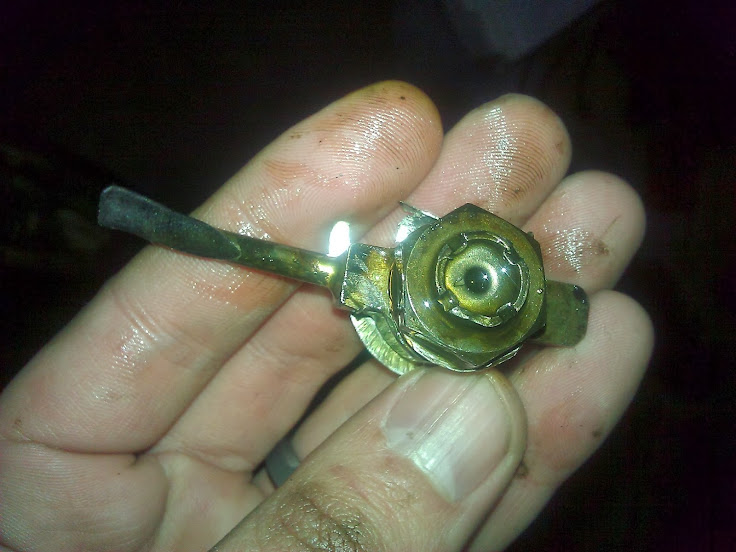
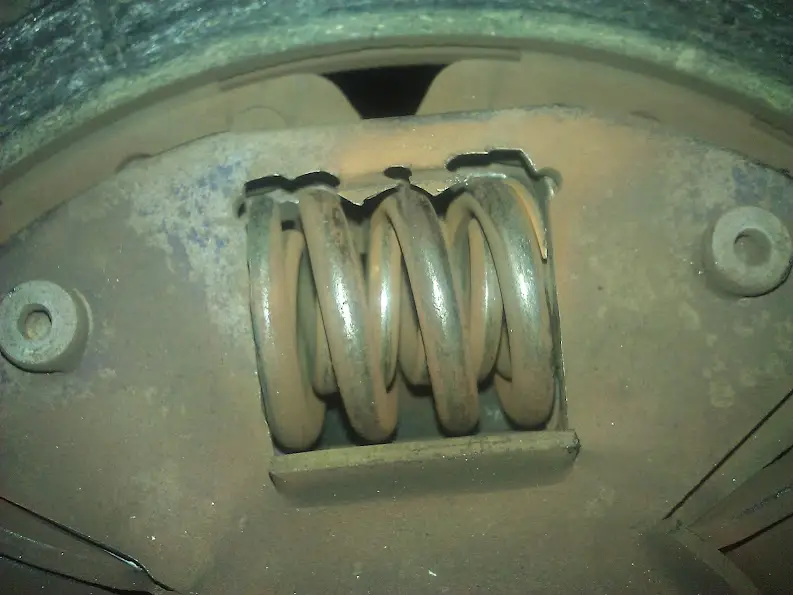
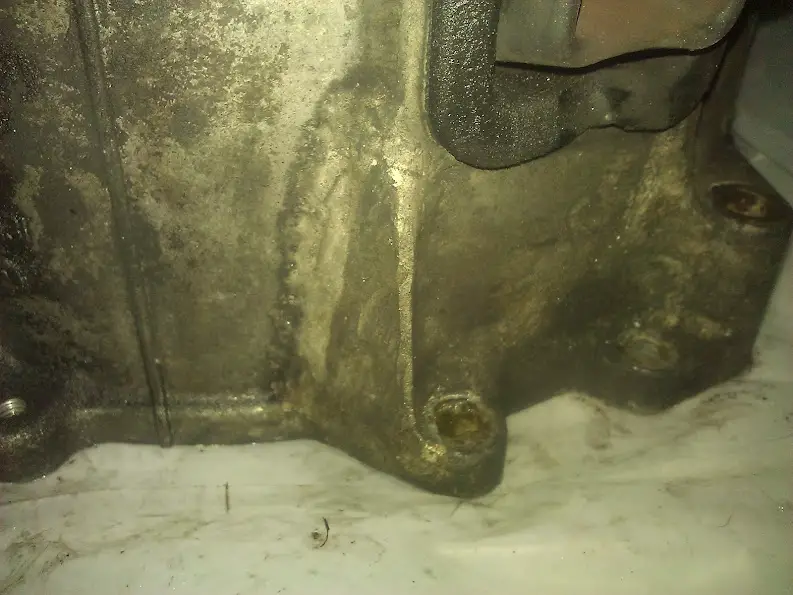
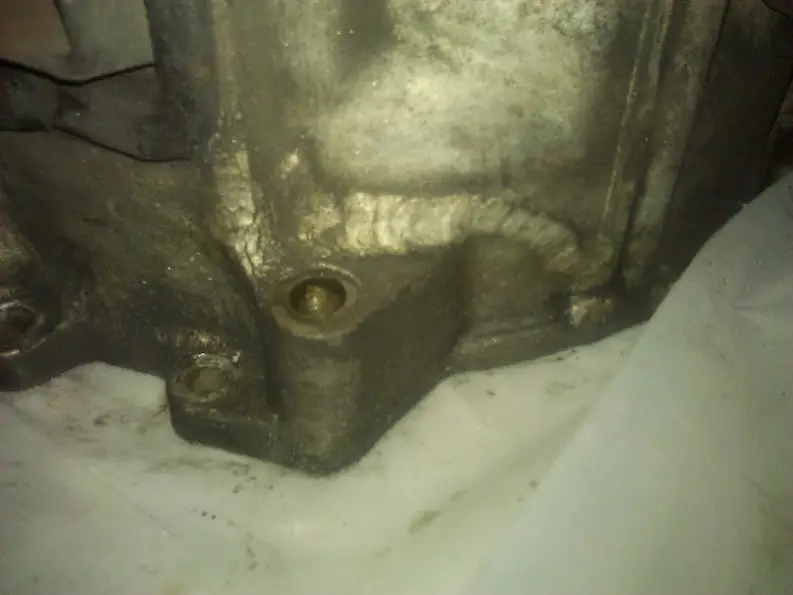
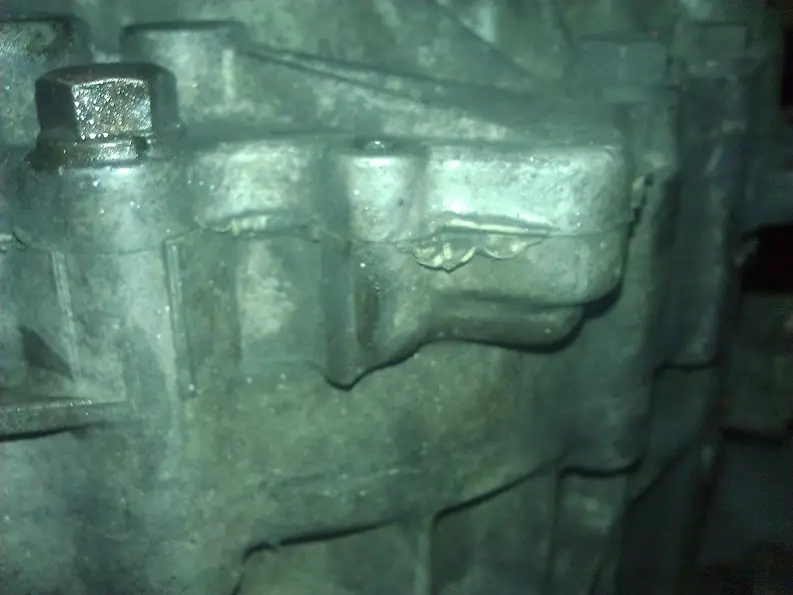
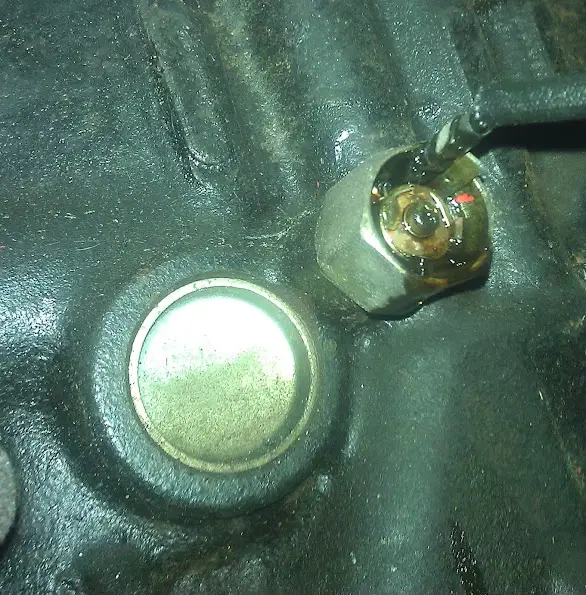
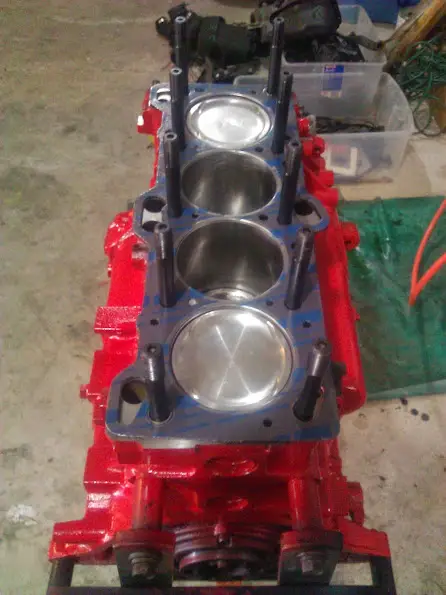
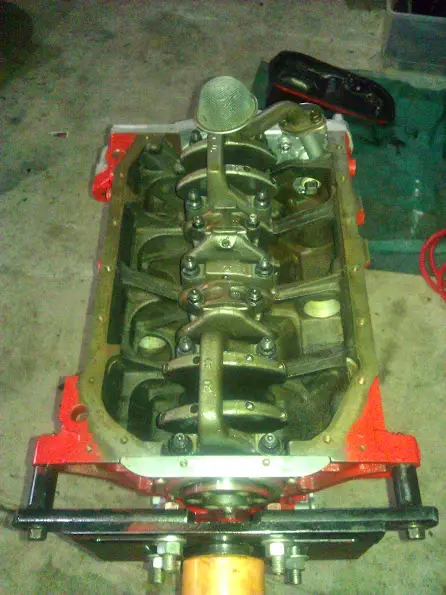
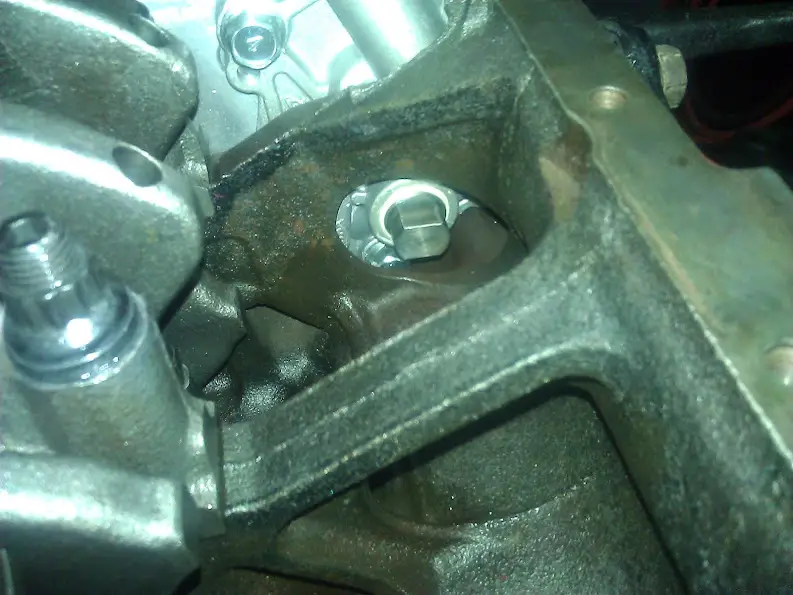
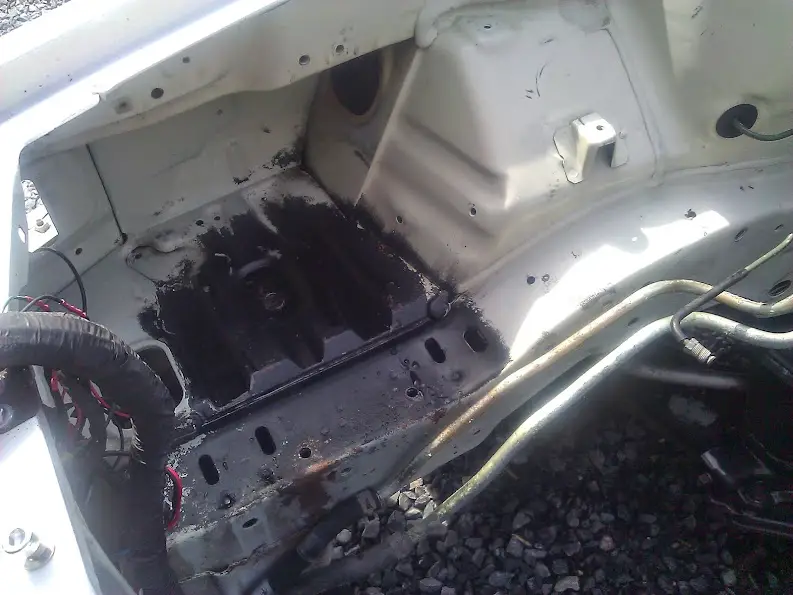
The passenger side balance shaft bearing spun, and was laying in the pan. The balance shaft itself still spun freely. Somehow, the balance shaft bearing took out the oil squirter on cylinder #3. It was still in place in the condition shown in the photo. It looks like the bearing dropped out, and the crank throw smashed it into the oil squirter. The crank and throw look fine though. It's hard to believe the car was running absolutely prefect with all this sh*t wrong.

I'm at a loss. Just don't know what to do. I have no idea how long the car has been like this, or the extent of the damage all the metal caused. So guys, got any advice? Do a BSE and just hope for the best? Junk the motor?
 

turbowop

Well-known member
Joined
Apr 29, 2001
Messages
11,972
Location
Yakima, WA
That sucks. Considering the engine has been running like that for a long time, I'd BSE it and see how far she makes it. Normally I leave the front shaft in place, but with that bearing gone, oil pressure is probably low, so a new bearing will need to be installed 180 out to block the oil hole. You're also going to need to get that squirter back in place. I'm not sure if that's possible with the motor still in the car and all together though? What a pain in the ass...

When I did the BSE to my car in '03, I found balance shaft bearing shavings in the pan as well. I luckily caught mine before anything bad happened like your issues though. But whatever metal shavings made it through my engine (if any) have yet to show any issues after years of abuse, if that makes you feel any better.

It's a damn good thing you didn't just install the belt and take the car out for a spin. Who knows what would happen. /ubbthreads/images/graemlins/uhh.gif
 
Last edited:

GSTwithPSI

Well-known member
Joined
Jan 1, 2012
Messages
3,461
Location
SoCal
Thanks for the advice, Mark. That actually does make me feel a little better. My main concern is the damage the metal did. Aside form doing a complete tear down, I'll never know the full extent.

My next issue is what to do about the front BS. To my knowledge, I can't remove it with the motor in the car, and I definitely can't leave it as is. I don't understand how the motor didn't fry with the loss of oil pressure due to the missing BS bearing. Hard to believe I got that lucky.

At this point, I don't think I have a choice but to pull the motor, and deal with the front BS. If someone has another idea, hit me, because I really don't want to pull the motor right now. Otherwise, I think that's my only course of action.
 
Last edited:

EHmotorsports

Well-known member
Joined
Sep 25, 2012
Messages
1,278
Location
Beaverton
If you pull the engine. pull the rod and mains check the bearings. I would also pull the cam caps and make sure no contaminants are on the cam and ground into the caps. i would also try to back flush the turbo and all oil ports. any alan plugs you can remove and clean out the better. then before you put the timing belt on run the pump and prime the engine. perfect world i would recomend taking the entire engine down and full deep clean.
 
Last edited:

transparentdsm

Well-known member
Joined
Jul 27, 2011
Messages
3,690
Location
Cherry Hill, NJ
i have pulled them in the car, take all the cross members and motor mounts but the pass tranny mount out and lower the motor on a jack. it should just clear the frame rail with a little bit of work. its a real pain in the ass but you dont have to yank the motor. hardest mount to get is the rear.
 

GSTwithPSI

Well-known member
Joined
Jan 1, 2012
Messages
3,461
Location
SoCal
I've been waiting on my shop crane to get here in the mail, but with all the crappy weather, shipping got seriously delayed. It showed in the mail yesterday, so I finally got the motor out. Once it was out, I realized the balance shaft taking a sh*t and forcing me to pull the motor was probably a blessing in disguise. I found a lot of items that needed attention, that I wasn't even aware of.

The major one being the clutch. The car always drove and ran fine, but it was a ticking time bomb waiting to happen. The torsion springs in the clutch hub were so damaged and loose they were jiggling around. It was a Mitsubishi disc and OEM flywheel, so I'm assuming it was all stock.
WP_000716.jpg

WP_000717.jpg

WP_000718.jpg

WP_000719.jpg


The transmission has been blah since I got the car. 1-2 and 2-3 shifts were never as smooth as I'd like. After I got the trans out and had a closer look, it appears this box has had a hard life. Some extensive welding has been done on the case, and it has definitely been rebuilt at some point judging by the sealant oozing from between the case halves. GVR4 box number W5M332NQBM.
WP_000728.jpg

WP_000730.jpg

WP_000731.jpg

WP_000734.jpg


Here's the replacment /ubbthreads/images/graemlins/smile.gif
WP_000720.jpg


Knock sensor...Looks legit.
DOJ3EzRSn2U9RCb-NHBYuN8bGtCh5pUaNLkTW_zb5QE=w586-h595-no


As far as the motor goes, I pulled 1 main and 1 rod bearing cap to inspect, and everything looked fine. There wasn't anything embedded in the bearing, and the surface looked clean and polished. I'm going to go ahead and just do the BSE, and drop this motor back in.

Overall, the car just needs some TLC. There's A LOT of cleanup that needs to be done. I ordered about $400 bucks worth of parts, and put up a few WTB ads for the leftover stuff I need. I'll be doing other upgrades as well while everything is apart. I have a bunch of good stuff to throw on the car to improve overall performance and appearance. I'll be replacing gaskets and addressing maintainance items as they come up. I've listed some of the stuff I'll be adding below:

-New OEM knock sensor
-New OEM thermostat
-New stabilizer links
-NGK BPR6ES plugs
-Gates timing hardware and belt
-Gates accessory belts
-Centerforce dual friction organic/carbon composite clutch & pressure plate click
-ACT StreetLite Flywheel
-New OEM TOB
-Rebuilt transmission with welded diff
-New front CV shafts
-New Redline fluids in trans and rear diff
-Catch can setup
-New Oil pump with Mitsubishi stub shaft & BSE
-Magnus sheet metal intake minifold
-Aeromotive A1000 AFPR
-3G lifters
-Mishimoto aluminum fan shroud kit & 12" slim fans
-Walbro 255 fuel pump
-89 underdash
 
Last edited:

GSTwithPSI

Well-known member
Joined
Jan 1, 2012
Messages
3,461
Location
SoCal
After having to pull the motor, I started thinking about what direction I really wanted to go with the car. There were so many things I wanted to address, but I didn't really want to commit to a complete restomod. I was already balls deep with the motor out of the car, so I figured what the hell. Restomod it is. I'm hoping to get the car done enough to make it to the Shootout, but we'll see how things go. I'm not cutting any corners to make the deadline, so hopefully everything goes smooth.

I was gonna drop the old motor back in, but then thought better of it. Instead, the car is getting the built motor I had in reserve, and I'll be topping it off with my reconditioned head. This way, when it's all said and done, 1837 will get everything she needs, plus some extras I had planned as well. I know we're all picture people here, so I hope you guys don't mind the photo dump. Here's the progress so far...

Old dirty motor pulled:
WP_000713.jpg


Reconditioned head, courtsey of Dale Morss Machine (BogusSVO):
WP_000769.jpg

WP_000770.jpg

WP_000771.jpg


Added engnbldr revised lifters:
WP_000774.jpg


Short block:
-Machine work by Dale Morss Machine
-Ross 2G 85.5mm 8.3:1 forged aluminum pistons
-1G Rods
-New standard crank
-King rod and main bearings
-Fel-Pro composite head gasket 9627PT
-All new engine gaskets (FelPro) 
-New water pump and timing components (Gates) 
-Gates timing belt 
-New OEM knock sensor
-New oil pump with OEM BSE kit
-2G oil pickup
-ARP head bolts
-ARP main bolts
WP_000753.jpg

WP_000752.jpg

WP_000775.jpg

WP_000776.jpg

WP_000777.jpg

WP_000779.jpg

WP_000785.jpg

WP_000782.jpg

WP_000795.jpg

WP_000789.jpg

WP_000812.jpg

WP_000813.jpg

WP_000814.jpg


90% Finished product:
WP_000860.jpg

WP_000852.jpg

WP_000854.jpg

WP_000862.jpg

WP_000858.jpg


The motor is pretty much ready to drop back in. The issue I have now, is the engine bay looks terrible. I spent about 5 hours today scrubbing away at all the filth and I'm still not happy with the result. I guess I'm just not as awesome at cleaning as Tom is <img src="/ubbthreads/images/graemlins/worthy.gif" alt="" /> . Even after a good scrub, the white paint has this dingy piss yellow tint to it. I even buffed a small area to see if it could be removed, with no luck. The plan, now, is to prep the bay and give it a new coat of paint. Even though there isn't really any rust to contend with, I figure why not just rust proof it anyways. I'll be doing pretty much the same thing I did with the front clip; RustBullet everything and paint.

Here's some before and after shots of the progress:
WP_000837.jpg

WP_000831.jpg

WP_000843.jpg


WP_000836.jpg

WP_000832.jpg

WP_000844.jpg


WP_000833.jpg

WP_000846.jpg


WP_000834.jpg

WP_000845.jpg


WP_000839.jpg

WP_000850.jpg


WP_000840.jpg

WP_000849.jpg


WP_000842.jpg

WP_000847.jpg
 

GSTwithPSI

Well-known member
Joined
Jan 1, 2012
Messages
3,461
Location
SoCal
I cleaned the covers initially with simple green, and I wiped each piece down with reducer prior to painting. I used a small HVLP detail gun, and some PPG urethane automotive paint I had left over from another project to paint the covers.
 

GSX_TC

Well-known member
Joined
Apr 7, 2011
Messages
3,725
Location
Houston, Texas
You and your red blocks Brett haha, lookin good brotha, hope to see this car at the shootout. Engine Is looking good.
 

89Patches

Well-known member
Joined
Jan 30, 2013
Messages
723
Location
Ontario Canada
Quoting GSTwithPSI:
I cleaned the covers initially with simple green, and I wiped each piece down with reducer prior to painting. I used a small HVLP detail gun, and some PPG urethane automotive paint I had left over from another project to paint the covers.


Cool thanks for the info!! Looks good /ubbthreads/images/graemlins/applause.gif
 

transparentdsm

Well-known member
Joined
Jul 27, 2011
Messages
3,690
Location
Cherry Hill, NJ
sexed the f*** up, i like it. motor looks super clean.

i hope to pull my motor when i do the trans this summer and clean the bay up again and even maybe re-gasket the motor just because its apart.

edit: i also want to repaint my block and all that that goodness and i am super jealous of your longblock.
 
Last edited:

pot

Staff member
Joined
Oct 28, 2003
Messages
1,573
Location
Fayetteville, NC
I don't understand why Mitsu opted to only seal/prime the sheet metal under the battery tray. When I relocated the battery last week I was amazed at how bad the battery acid ate away at the frame rail. Either way, your project is coming along quite nicely. I look forward to more pictures and motivations Devil Dog.
 

coyotes

Well-known member
Joined
Nov 15, 2013
Messages
1,544
Location
Seattle, WA
Are you going to a bigger turbo later? I plan to run that but it seems you have really gone the distance with your motor for a 16g. My engine is somewhat similar, all OEM rebuild plus BSE and ARP head studs. I don't plan to make more than what a 16g will put out.
 

EHmotorsports

Well-known member
Joined
Sep 25, 2012
Messages
1,278
Location
Beaverton
It's coming along nicely! Really like how clean it is:)
 

turbowop

Well-known member
Joined
Apr 29, 2001
Messages
11,972
Location
Yakima, WA
Quoting Pot:
I don't understand why Mitsu opted to only seal/prime the sheet metal under the battery tray. When I relocated the battery last week I was amazed at how bad the battery acid ate away at the frame rail. Either way, your project is coming along quite nicely. I look forward to more pictures and motivations Devil Dog.


So many of us have the battery acid issue under the tray and down the frame rail. It sucks. Mine cleaned up pretty well though, as I'm sure goes for a lot of others as well.

I'm curious if you're going to run a larger turbo as well. It seems installing a Magnus intake manifold is overkill for the turbo you're running. I'm guessing you had it laying around and are installing it now to get it out of the way in preparation for a larger turbo down the road?

BTW, even without fresh paint, the engine bay still looks 100% better. Once the engine and all the stuff that goes under the hood is installed, I bet it would look great. But fresh paint while the motor is out is still a good idea and will look amazing.
 
Last edited:
Support Vendors who Support the GVR-4 Community
Boosted Fabrication ECM Tuning ExtremePSI Fuel Injector Clinic Jacks Transmissions JNZ Tuning Kiggly Racing Morrison Fabrications RixRacing RockAuto RTM Racing STM Tuned
Top